Table of Contents
- What Is a Chemical Peel and Why Preparation Matters
- How Long to Stop Retinol Before Chemical Peel
- Best Skincare Products to Use Before a Peel
- How to Patch Test a Chemical Peel
- Your 2-4 Week Pre-Peel Timeline: Skin Priming Steps
- What to Avoid Before Your Chemical Peel
- Skin-Type Specific Prep Strategies
- Managing Medications and Health Considerations
- Frequently Asked Questions
Last Updated: September 1, 2026
What Is a Chemical Peel and Why Preparation Matters
A chemical peel is a professional-grade skincare treatment that uses chemical solutions to exfoliate and remove the outer layers of skin, promoting cell turnover and revealing fresher, smoother skin underneath. The process works by applying acids such as glycolic acid, salicylic acid, lactic acid, or TCA to the skin’s surface, which dissolve the bonds holding dead skin cells together. This controlled exfoliation triggers the skin’s natural healing response, stimulating collagen production and improving skin texture, tone, and clarity.
The difference between a successful peel and a problematic one often comes down to how well you’ve primed your skin beforehand. Your skin barrier needs to be strong and healthy before chemical exfoliation. Without proper preparation, you risk excessive irritation, inflammation, compromised healing, and potentially lasting damage.
At Makeup Artist’s Choice, we’ve guided clients through at-home chemical peels since 1997. This guide walks you through exactly how to prep skin for chemical peel treatments, whether you’re addressing acne, post-inflammatory hyperpigmentation, sun damage, or fine lines.
Start your preparation 4 weeks before your planned peel. This timeline gives your skin barrier time to strengthen, allows you to identify any sensitivities, and ensures you’re not introducing new products too close to treatment day.
How Long to Stop Retinol Before Chemical Peel
You should discontinue retinoids at least 5-7 days before your chemical peel, though many dermatologists recommend stopping 1-2 weeks prior for optimal safety (the American Academy of Dermatology). Retinoids, including retinol, retinaldehyde, adapalene, tretinoin, and other vitamin A derivatives, increase cell turnover and skin sensitivity. Combining them with a chemical peel compounds exfoliation and irritation risk, potentially leading to excessive peeling, redness, and compromised skin barrier function.
Both retinoids and chemical peels work by accelerating cell turnover. Using them together is like double-exfoliating, which can overwhelm your skin’s natural recovery capacity. For prescription-strength retinoids like tretinoin, stopping 2 weeks before is safer. For over-the-counter retinol products, 5-7 days is typically sufficient.
After your peel, wait at least 1-2 weeks before reintroducing retinoids. When you do resume, start with a lower concentration and use it less frequently than before the peel.
Stopping early is non-negotiable for safety.
Best Skincare Products to Use Before a Peel
The best pre-peel skincare routine focuses on strengthening your skin barrier, maintaining hydration, and avoiding products that increase sensitivity. Your goal during the 2-4 weeks before a peel is to create a stable, resilient foundation.
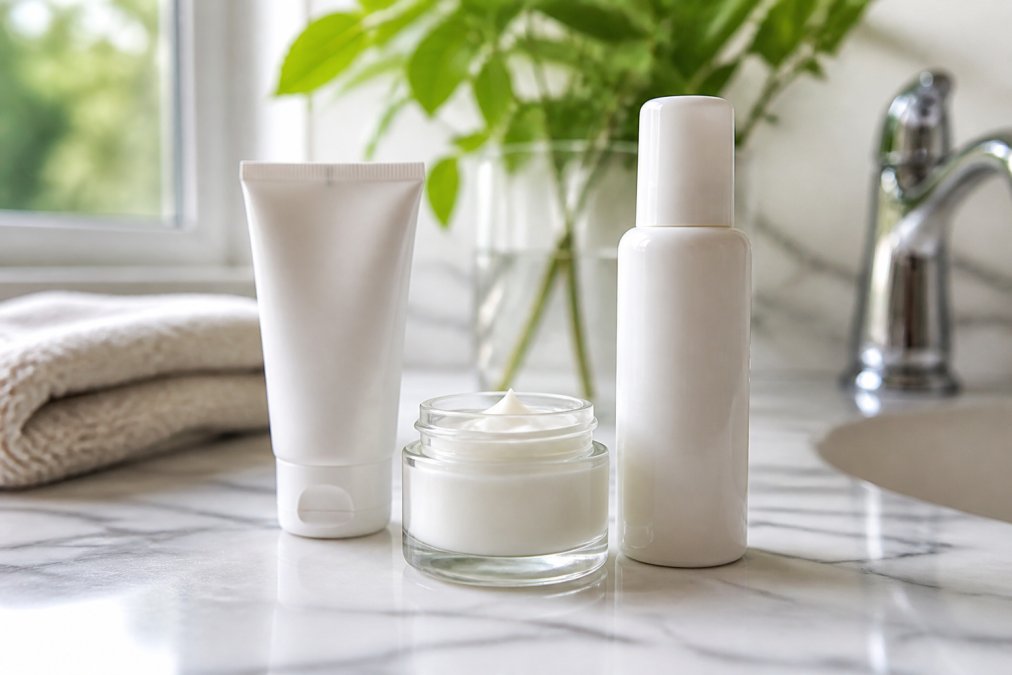
Gentle Cleanser: Use a pH-balanced, non-foaming cleanser that removes impurities without stripping your skin. Look for cleansers with a pH between 4.5 and 6.5 (peer-reviewed research). Avoid harsh, sulfate-based cleansers that disrupt the skin barrier. Cream or milk cleansers work well during prep weeks.
Hydrating Moisturizer: Apply a moisturizer with humectants like glycerin or hyaluronic acid and occlusive ingredients like ceramides or squalane to lock in hydration. A well-hydrated skin barrier is more resilient and recovers faster from chemical exfoliation. Apply moisturizer to damp skin immediately after cleansing.
Broad-Spectrum Sunscreen: Daily sun protection is non-negotiable. Use a broad-spectrum sunscreen with at least SPF 30, though SPF 50 is ideal (the FDA). Sun exposure increases melanin production and can worsen post-inflammatory hyperpigmentation. Apply sunscreen every morning and reapply every two hours if outdoors.
What to Skip: Avoid vitamin C serums, niacinamide, peptides, and other active ingredients during prep weeks. Stick to the basics: cleanse, hydrate, protect.
How to Patch Test a Chemical Peel
A patch test reveals how your skin will react to the specific peel formula before treating your entire face. This step is especially important if you have sensitive skin, a history of reactive skin, or you’re using a peel strength you’ve never tried before.
Step 1: Choose Your Test Area
Select a small, discreet area of skin, typically behind your ear, on your jawline, or on your inner arm. The test area should be representative of the skin you plan to treat.
Step 2: Cleanse and Dry
Wash the test area with your gentle cleanser and pat completely dry. Wait at least 10 minutes after cleansing before applying the peel.
Step 3: Apply the Peel
Follow the specific instructions for your peel formula regarding application time. Most at-home peels are left on for 3-10 minutes. Set a timer and don’t exceed the recommended time on your first patch test.
Step 4: Monitor During Application
Mild tingling or warmth is normal. Significant burning, severe stinging, or pain is not, neutralize immediately and rinse thoroughly with cool water.
Step 5: Neutralize and Rinse
Use the neutralizer included with your peel. Rinse with cool water for at least one minute and pat dry gently. Do not apply any other products for at least 30 minutes.
Step 6: Observe for 24-48 Hours
Monitor the test area for redness, swelling, excessive dryness, or unusual irritation. Mild redness that fades within a few hours is expected. Persistent swelling, hives, or severe irritation means you should not use this peel strength.
A patch test takes 10 minutes but saves you from a potentially problematic reaction on your face. If your test area shows anything more than mild, transient redness, do not proceed with the full peel.
Your 2-4 Week Pre-Peel Timeline: Skin Priming Steps
A structured 2-4 week preparation timeline ensures your skin barrier is strong, your sensitivity is minimized, and you’re ready to get maximum results from your peel.
Weeks 4-3: Begin Your Skincare Regimen Adjustment
During weeks 4 and 3 before your peel, establish a consistent, simplified skincare routine and discontinue any products that increase sensitivity.
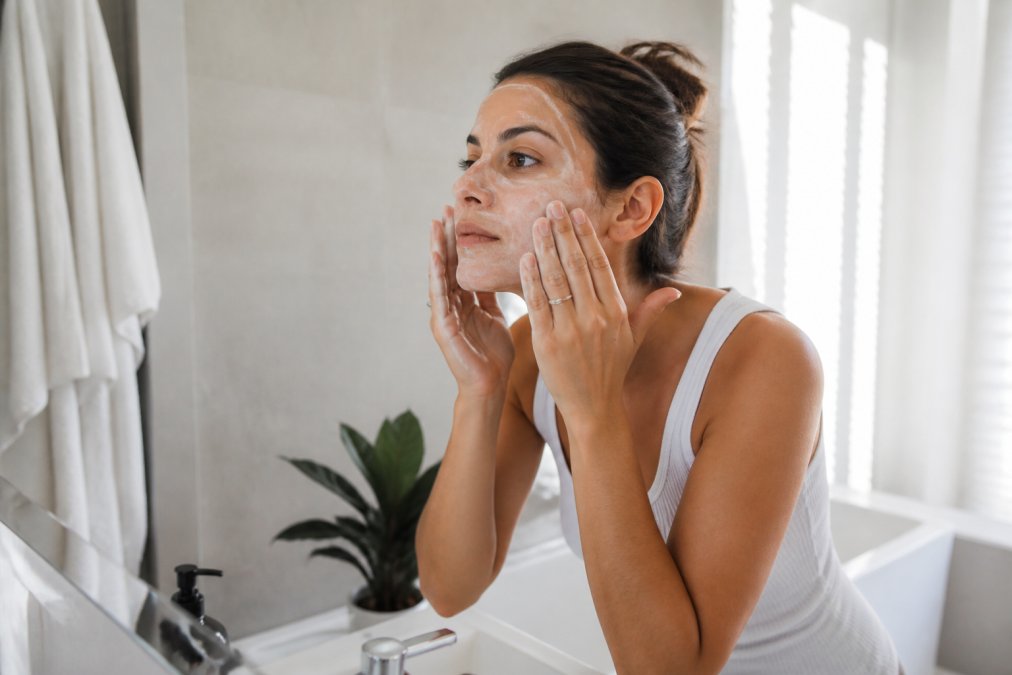
Stop using all active ingredients immediately. This includes retinoids, vitamin C serums, AHAs, BHAs, niacinamide, peptides, and any other treatment-focused products. Your routine should consist only of a gentle cleanser, hydrating moisturizer, and broad-spectrum sunscreen. Establish a twice-daily routine: cleanse with a gentle, pH-balanced cleanser in the morning and evening, follow with a hydrating moisturizer applied to damp skin, and apply broad-spectrum sunscreen in the morning. At night, you can add an occlusive moisturizer or facial oil if your skin tends toward dryness. Continue this simplified routine without variation through week 3. Your skin should feel more comfortable, less reactive, and more balanced.
Weeks 3-2: Strengthen Your Skin Barrier
Weeks 3 and 2 focus on actively strengthening your skin barrier through targeted hydration and barrier-supporting ingredients.
Apply your moisturizer to damp skin immediately after cleansing. This “damp application” technique helps lock in water molecules, maximizing hydration. At night, consider adding a facial oil or occlusive balm over your moisturizer to prevent transepidermal water loss. If you want to add one supportive product during this phase, choose a moisturizer or serum containing ceramides, cholesterol, or free fatty acids, the three lipids that comprise your skin’s natural barrier. Avoid any products with fragrance, essential oils, or alcohol. Apply broad-spectrum SPF 50 every morning, even if staying indoors, and reapply every two hours if spending time outside.
Week 1: Final Preparation and Patch Test
The final week is your last chance to identify any issues before your peel.
Perform your patch test on day 1 or 2 of week 1 as described in the previous section. This gives you 5-7 days to observe the test area and confirm you’re not having an unexpected reaction. Continue your simplified skincare routine without any changes. Choose a day when you can stay home for at least 24 hours afterward. Avoid scheduling your peel before a major event, vacation, or high-stress period. Gather all the products you’ll need post-peel: gentle cleanser, hydrating moisturizer, broad-spectrum sunscreen, and any recommended soothing products like aloe vera or a hydrating mask.
What to Avoid Before Your Chemical Peel
Certain products and practices actively work against your peel preparation goals.
Abrasive Scrubs and Physical Exfoliants: Scrubbing, microdermabrasion, and physical exfoliants damage your skin barrier and increase sensitivity. Your chemical peel will provide all the exfoliation your skin needs.
Vitamin C Serums: While vitamin C is excellent for brightening, it can increase skin sensitivity when combined with upcoming chemical exfoliation. Save it for post-peel recovery.
Niacinamide and Peptides: These are active treatment ingredients. During prep weeks, stick to hydration and barrier support only.
Fragranced Products: Fragrance and essential oils compromise skin barrier function. Choose fragrance-free cleansers and moisturizers.
Alcohol-Based Products: Toners, astringents, and products containing denatured alcohol dry out your skin and weaken your barrier.
Excessive Sun Exposure: Minimize unnecessary sun exposure. Wear protective clothing, use a hat, and seek shade when possible.
Hot Water and Hot Environments: Use lukewarm water for cleansing during prep weeks. Avoid hot baths, saunas, and hot yoga.
Stress and Poor Sleep: Prioritize sleep and stress management during your prep weeks. Your skin recovers better when your body is well-rested.
Skin-Type Specific Prep Strategies
Your skin type influences which products and approaches work best during preparation.
Sensitive Skin Preparation
Sensitive skin requires the most conservative approach. Consider starting your preparation 6 weeks before your peel instead of 4 weeks. Use the same cleanser, moisturizer, and sunscreen throughout your entire prep period, consistency is more important than trying multiple products. Choose a moisturizer specifically formulated for sensitive skin, ideally one containing ceramides, centella asiatica, or colloidal oatmeal. Avoid any moisturizer with fragrance, essential oils, or botanical extracts. Use a cream or milk cleanser exclusively. Observe your patch test for a full 7 days before proceeding, as sensitive skin sometimes shows delayed reactions. Consider discussing a weaker peel strength with a dermatologist; results take longer with gentler peels, but the risk of complications is significantly lower.
Oily and Acne-Prone Skin Preparation
If you’re using a salicylic acid peel, you can continue a very mild salicylic acid cleanser (0.5-1%) during prep weeks. However, discontinue any stronger salicylic acid treatments 1-2 weeks before your peel. Choose a lightweight, oil-free moisturizer or a gel-based hydrating serum with hyaluronic acid or glycerin. Use a sunscreen formulated specifically for oily or acne-prone skin, look for a lightweight, hydrating formula or a mattifying sunscreen. If you have active cystic acne or significant breakouts during prep weeks, consult a dermatologist before proceeding with your peel.
Mature Skin with Sun Damage
Mature skin often has a compromised barrier from years of sun exposure and environmental stress. During prep, use a moisturizer that contains peptides or amino acids, ingredients that support your skin’s natural collagen production. Mature skin with significant sun damage may require multiple peels spaced 4-6 weeks apart to see dramatic results, discuss realistic expectations with a dermatologist or aesthetician before your first peel. Prioritize hydration above all: apply moisturizer to damp skin twice daily, and consider adding a hydrating facial oil or occlusive balm at night.
Managing Medications and Health Considerations
Certain medications and health conditions affect how your skin responds to chemical peels. If any of these apply to you, discuss your peel plans with your dermatologist before proceeding.
Accutane (Isotretinoin): If you’re currently taking or have taken Accutane within the past year, you should not have a chemical peel. Wait at least 12 months after completing Accutane before having any peel.
Antibiotics: Certain antibiotics, particularly tetracyclines, increase photosensitivity. If you’re taking doxycycline, minocycline, or similar medications, discuss this with your dermatologist.
Immunosuppressants: If you’re taking medications that suppress your immune system, your skin’s healing capacity is compromised. Consult your prescribing physician and a dermatologist before scheduling a peel.
Hormonal Changes: Pregnancy, hormonal contraceptives, and menopause all affect skin sensitivity and melanin production. Pregnant individuals should postpone peels until after delivery and breastfeeding. Those on hormonal contraceptives should be aware that estrogen can increase melanin production, potentially worsening post-peel pigmentation.
Active Skin Infections: Do not have a chemical peel if you have active cold sores, bacterial infections, or fungal infections. Wait until the infection has completely resolved.
History of Keloids or Hypertrophic Scarring: If you have a tendency to form thick, raised scars, chemical peels carry higher risk. Consult a dermatologist to discuss whether a peel is appropriate for your skin type.
Preparing your skin for a chemical peel is where the real work happens. The peel itself is just the catalyst; your preparation determines whether you’ll see transformative results or disappointing outcomes. At Makeup Artist’s Choice, we’ve been helping clients navigate this process for nearly 30 years. Our professional-grade glycolic, lactic, salicylic, and TCA peels are designed to work with properly prepared skin, delivering the salon-quality results you’re investing in. Start your 2-4 week prep timeline today, follow the skin-type specific guidance that matches your needs, and you’ll be ready to get the most from your peel.
Frequently Asked Questions
How many days before a chemical peel should I stop using retinol?
Stop retinol use 3-5 days before your chemical peel, though some skin types benefit from stopping 7 days prior. Since both retinoids and chemical peels increase skin cell turnover and can cause irritation, combining them risks excessive inflammation and skin barrier damage. Always patch test your chosen peel strength first, and consult with a dermatologist if you’re on prescription retinoids. Resume retinol only after your skin has fully healed from the peel, typically 5-7 days post-treatment.
What should you not do before a chemical peel?
Avoid exfoliating with abrasive scrubs, using AHAs or BHAs, applying retinoids, and getting waxing or other hair removal 5-7 days before your peel. Do not use products containing benzoyl peroxide, vitamin C serums, or other active treatments that sensitize skin. Skip sun exposure and tanning beds. Do not over-moisturize or use occlusive products immediately before application, as they can interfere with the peel’s penetration. Avoid scheduling peels if you have active cold sores, sunburn, or inflamed acne.
Can I prep my skin for a chemical peel on a budget?
Yes. Focus on essentials: a gentle cleanser, basic moisturizer, and broad-spectrum sunscreen (SPF 30+). These three products form the foundation of pre-peel care and cost significantly less than specialized serums. Skip expensive targeted treatments and instead prioritize consistency with affordable basics for 2-4 weeks before your peel. Many budget-friendly drugstore moisturizers and cleansers work well for skin barrier support. The key is regular use, not premium pricing. Professional-grade peels themselves offer cost savings versus salon treatments, so reinvest those savings into quality post-peel sunscreen rather than expensive pre-peel products.
How do I know if my skin is ready for a chemical peel?
Your skin is ready when it shows no active inflammation, sunburn, or open wounds. The skin barrier should feel hydrated and resilient, not tight or flaky. You should have stopped all active treatments (retinoids, AHAs, BHAs) for the recommended timeframe and completed a successful patch test without excessive redness or irritation lasting beyond 24 hours. If you have post-inflammatory hyperpigmentation or acne scars you want to address, discuss realistic expectations with a dermatologist beforehand. Mental readiness matters too: understand that downtime and temporary redness are normal, and you’ll need consistent sun protection for weeks afterward.
This article was written using GrandRanker