Table of Contents
- How Glycolic Peels Work on Acne Scars
- Which Acne Scars Respond Best to Glycolic Acid
- Glycolic Acid Peel Recovery Time: What to Expect Day by Day
- At-Home Glycolic Peel Safety: Concentration, pH, and Patch Testing
- Post-Peel Skincare Routine for Better Scar Results
- How Many Glycolic Peel Sessions for Acne Scars?
- Cost, Maintenance, and Realistic Expectations
- Frequently Asked Questions
Last Updated: September 13, 2026
How Glycolic Peels Work on Acne Scars
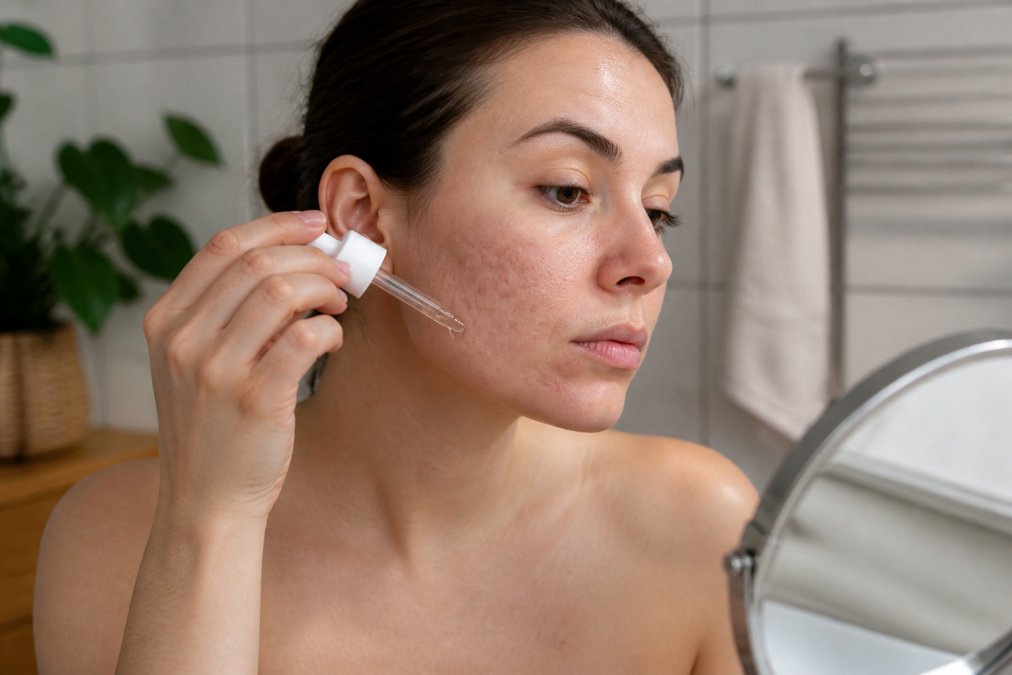
Glycolic acid is an alpha hydroxy acid (AHA) derived from sugarcane, and a glycolic peel acne scars treatment works by accelerating chemical exfoliation and stimulating collagen production in the deeper layers of skin. This guide breaks down what a glycolic peel for acne scars effectiveness actually looks like in practice.
Here’s the short answer: glycolic acid peels work well for surface-level scarring and post-inflammatory hyperpigmentation, but they are not a complete solution for deep, pitted atrophic scars. Understanding that distinction before you start saves time, money, and disappointment.
Chemical Exfoliation and Epidermal Turnover
Glycolic acid’s small molecular size lets it penetrate the stratum corneum more efficiently than most other AHAs. Once absorbed, it loosens the bonds between dead skin cells, speeding up epidermal turnover and revealing fresher skin underneath. This process, known as desquamation, is what makes glycolic peels effective for superficial texture refinement and fading hyperpigmentation.
The concentration percentage and pH balance of a peel determine how aggressively it works. Lower-pH formulas penetrate deeper; higher concentrations cause more controlled peeling. Both factors matter more than the label on the bottle.
Collagen Production and Scar Remodeling
Medium-depth glycolic peels trigger a wound-healing response that stimulates collagen production and promotes scar remodeling over time. This is where the real improvement in atrophic scars happens: not from the surface peel itself, but from the new collagen laid down in the weeks after each session.
The visible peeling is the least important part of the process. The collagen remodeling happening underneath during weeks two through six after each peel is what actually changes scar appearance. That’s why spacing sessions four weeks apart beats rushing them.
Which Acne Scars Respond Best to Glycolic Acid
The best candidates for glycolic acid peel treatment are people with post-inflammatory hyperpigmentation (dark marks), post-inflammatory erythema (red marks), and mild textural scarring. These concerns sit in the epidermis and upper dermis, exactly where glycolic acid does its best work.
Deep atrophic scars, including ice-pick, boxcar, and rolling scars, respond poorly to glycolic peels alone. Those scars involve structural loss in the deeper dermis. A dermatological procedure like microneedling, subcision, or laser resurfacing is typically required to rebuild that tissue. Determining the most effective intervention often requires weighing the specific depth of your scarring against the recovery time associated with microneedling vs chemical peels.
| Scar Type | Glycolic Peel Response | Best Approach |
|---|---|---|
| Post-inflammatory hyperpigmentation | Excellent | Glycolic peels, 4-6 sessions |
| Post-inflammatory erythema | Good | Gentle peels plus time |
| Mild textural scarring | Moderate | Peels plus retinoids |
| Deep atrophic scars | Poor alone | Microneedling or laser |
Fitzpatrick skin type matters here too, and most guides skip it. Higher Fitzpatrick types (IV-VI) carry a greater risk of post-inflammatory hyperpigmentation after any chemical exfoliation, so lower concentrations and longer intervals between sessions are the safer route.
Glycolic Acid Peel Recovery Time: What to Expect Day by Day
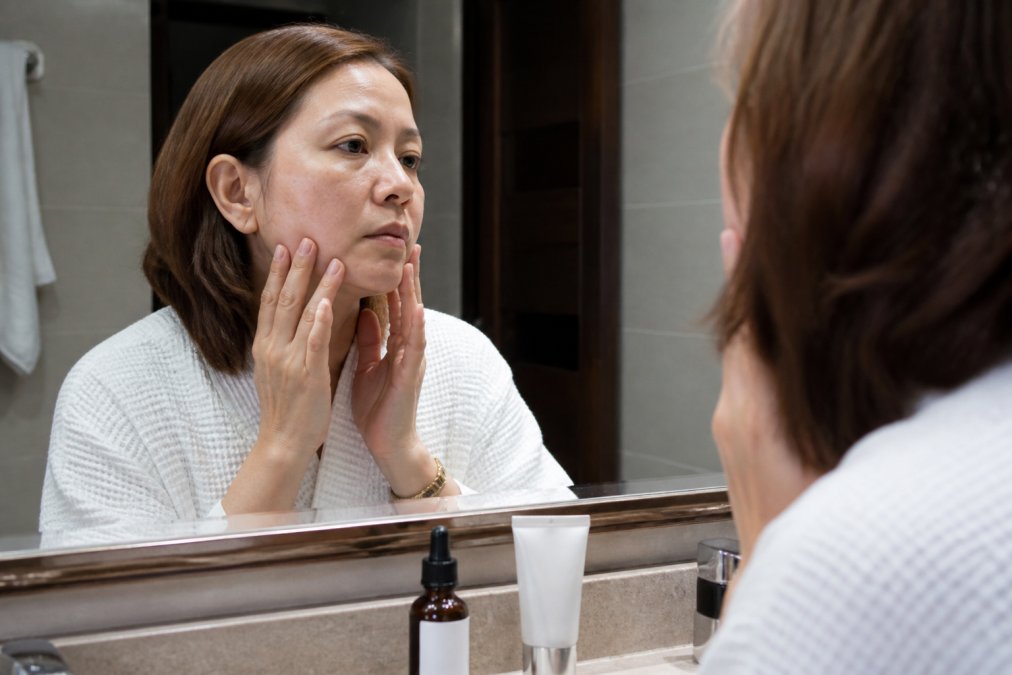
Recovery from a glycolic acid peel typically runs five to seven days for a professional-strength formula, with the most visible peeling occurring between days two and four. Knowing what each day looks like removes most of the anxiety around the process.
- Day 1: Mild redness and tightness. Skin feels warm. No peeling yet.
- Day 2-3: Peeling begins around the mouth and nose, then spreads. Flaking, not sheet peeling.
- Day 4-5: Peak desquamation. Skin looks rough and uneven. Do not pick.
- Day 6-7: Peeling resolves. Fresh, slightly pink skin underneath.
If you’re coming from a gentler at-home acid toner, expect the first peel to feel more intense than anything you’ve used before. That’s normal. What isn’t normal is prolonged burning, blistering, or oozing. Those signal a chemical burn and warrant a call to a medical professional.
At-Home Glycolic Peel Safety: Concentration, pH, and Patch Testing
At-home glycolic peel safety hinges on three variables you can control: concentration, pH, and patch testing. Get those right and the risk of damaging your skin barrier drops dramatically. Get them wrong and you can trade a few dark marks for a chemical burn and months of rebound pigmentation.
Concentration: Match the Strength to Your Experience
Glycolic acid peels are sold in a wide range of strengths, and the number on the label is only half the story. A common framework practitioners use:
- Under 10%: Cosmetic-grade exfoliation. Safe for frequent use, but too weak to remodel scar tissue.
- 10-30%: Light to medium professional-strength range. This is where most at-home scar work happens, and where beginners should start.
- 30-50%: Medium-depth. Effective for texture and pigmentation, but requires tolerance built over several weeks and strict neutralization.
- Above 50%: Generally reserved for in-office application under clinical supervision. Not a beginner at-home product.
Beginners should start at the low end of the professional range and build tolerance over several weeks before moving up. Jumping straight to a high-percentage formula is the single most common cause of at-home peel injuries.
pH: The Variable Most People Ignore
Free acid value, the combination of concentration and pH, determines how much acid is actually available to penetrate the skin. A 30% glycolic peel at pH 3.5 behaves very differently from a 30% peel at pH 2.0. Lower pH means more free acid, deeper penetration, and a higher risk of irritation or burning.
Most professional-grade at-home peels are formulated in a pH range suitable for at-home use. If a product lists a concentration but no pH, it’s important to seek clarification. The label should also state whether the formula requires neutralization.
Neutralization: Don’t Skip This Step
Professional-grade peels sold for home use often require a neutralization step; skipping it leaves acid on the skin longer than intended and increases the chance of irritation. Neutralizers work by raising the skin’s surface pH, which stops the acid from continuing to penetrate. If your peel kit includes one, use it exactly as directed and time the application. If it doesn’t, it’s important to confirm if the formula is self-neutralizing before use.
Never apply a glycolic peel to skin that’s been waxed, shaved, or treated with retinoids within the previous 48 hours (the American Academy of Dermatology). The compromised skin barrier absorbs acid faster, and what should be a controlled peel turns into a chemical burn. The same caution applies after sun exposure, windburn, or any recent facial treatment.
Patch Testing: A Structured Protocol
Always patch test on a small area behind the ear or along the jawline 24 hours before a full-face application. A more useful version of that advice:
- Day 1: Cleanse a small area behind the ear. Apply the peel at the intended strength for the intended contact time. Neutralize if required. Do not apply anything else to that spot.
- Day 2: Check the area. Mild pinkness or light flaking is expected. More than mild tingling, persistent redness, swelling, or blistering means drop to a lower concentration or a shorter contact time.
- Day 3: If the area has calmed and shows no signs of irritation, proceed with a full-face application at the tested strength.
If the test area shows more than mild tingling, drop to a lower concentration. Repeat the patch test at the new strength before committing to a full face.
Fitzpatrick Skin Type and Pigmentation Risk
Higher Fitzpatrick types (IV-VI) carry a greater risk of post-inflammatory hyperpigmentation after any chemical exfoliation, so lower concentrations and longer intervals between sessions are the safer route. This is the single biggest safety gap in most at-home peel guides. If your skin tans easily and rarely burns, treat every peel as a pigmentation risk and plan accordingly: start lower, space sessions further apart, and keep sunscreen discipline absolute during the recovery window.
When to Stop and Call a Professional
Mild redness, tightness, and flaking are normal. Prolonged burning, blistering, oozing, or spreading redness are not. Those signal a chemical burn and warrant a call to a medical professional. Stop the peel, rinse with cool water, apply a bland moisturizer, and do not apply any other active ingredient until the skin has fully healed.
Post-Peel Skincare Routine for Better Scar Results
A post-peel skincare routine determines whether you get the full benefit of each session or waste it on irritation and rebound pigmentation. The rules are simple: hydrate, protect, and avoid anything active for at least five days.
- Cleanse with a gentle, fragrance-free cleanser twice daily.
- Moisturize with a ceramide-rich cream to support skin barrier integrity.
- Apply broad-spectrum sunscreen every morning, reapplying every two hours outdoors.
- Skip retinoids, other acids, and vitamin C serums until peeling fully resolves.
- Introduce synergistic ingredients like niacinamide and hyaluronic acid once skin settles.
That last point is where most people leave results on the table. Niacinamide helps calm post-peel inflammation and supports the barrier while it rebuilds. Hyaluronic acid keeps the skin hydrated during the flaking phase. Neither interferes with the peel’s mechanism.
How Many Glycolic Peel Sessions for Acne Scars?
Most people need four to six glycolic peel acne scars sessions, spaced three to four weeks apart, to see meaningful improvement in scarring and hyperpigmentation. Results build cumulatively; a single session rarely produces dramatic change.
The number depends on three factors: scar depth, peel strength, and how consistently you maintain the schedule. Someone treating mild post-inflammatory hyperpigmentation may see clearing in three sessions. Someone with mixed textural scarring should plan for six or more, plus a long-term maintenance protocol of one peel every eight to twelve weeks to hold the results.
Consistency beats intensity. Six moderate peels spaced correctly will outperform three aggressive peels crammed into a month, every time, and with far less risk to your skin barrier.
Cost, Maintenance, and Realistic Expectations
Cost-benefit analysis is where at-home professional-grade peels make the strongest case, and it’s also where most guides stop short. Here’s a fuller picture, including the long-term maintenance protocol that determines whether your results hold past the first year.
Professional Series vs. At-Home: The Real Trade-Off
A single in-office glycolic peel at a dermatology clinic or med spa can be more costly than a professional-strength at-home peel. When applied correctly and consistently, at-home treatments can offer a cost-effective alternative for superficial concerns. The potential savings can be significant across a full treatment course.
What you’re trading for those savings:
- Supervision: In-office peels are applied by a trained provider who can adjust strength mid-session and stop if the skin reacts.
- Depth access: Higher concentrations and deeper medium-depth peels are generally not available for home use.
- Time: At-home peels require you to manage timing, neutralization, and aftercare yourself.
For post-inflammatory hyperpigmentation and mild textural scarring, the at-home route is a reasonable first line. For deep atrophic scars, no peel, at-home or in-office, is the right primary treatment, so the cost comparison is moot until you’ve addressed the structural issue.
A 12-Month Maintenance Protocol
Most guides stop at the treatment series. The results, though, depend on what you do after. A common pattern recommended:
- Months 1-6 (active series): Four to six peels spaced three to four weeks apart, with a full recovery window between each.
- Months 7-12 (maintenance): One peel every eight to twelve weeks to hold results and prevent new pigmentation from settling in.
- Ongoing: Daily broad-spectrum sunscreen, a barrier-supporting moisturizer, and a retinoid introduced only after the skin has fully stabilized between peels.
Skipping maintenance is the most common reason people feel their results “wore off.” The collagen laid down during the active series persists, but new sun exposure and hormonal pigmentation will continue to accumulate without a maintenance rhythm.
What Glycolic Peels Will and Won’t Do
Realistic expectations matter more than any product choice. Glycolic peels will fade dark marks, smooth texture, and soften the appearance of shallow scars. They will not erase deep pitted scars. Pairing peels with a maintenance routine and, where needed, a clinical procedure for structural scarring gives the best overall outcome.
Budget for the series, but plan for the year. The people who see the best long-term results treat peels as a maintenance habit, not a one-time fix, and they protect the investment with daily sunscreen.
Makeup Artist’s Choice has supplied professional-grade at-home peels since 1997, with formulas made in the USA and a range of acid treatments including glycolic, lactic, salicylic, and TCA options.
Frequently Asked Questions
Is glycolic acid peel effective for treating acne scars?
Glycolic acid peels are effective for superficial acne scars, post-inflammatory hyperpigmentation, and overall texture refinement. They work by speeding up epidermal turnover and stimulating collagen production, which can soften atrophic scars over time. Deep pitted or ice-pick scars may need stronger treatments like TCA peels or microneedling. A series of 4-6 professional-grade peels, spaced 2-4 weeks apart, typically produces visible improvement in mild to moderate scarring.
How long does it take to see results from a glycolic peel for acne scars?
Most people notice smoother texture and fading of hyperpigmentation after 2-3 peels. Collagen remodeling continues for weeks after each session, so scar softening becomes more apparent after 4-6 treatments. Full results may take 3-6 months of consistent peels and a post-peel skincare routine. At-home peels with lower concentrations may take longer than professional-strength peels.
What are the side effects of using glycolic acid for acne scars?
Common side effects include temporary redness, mild stinging, dryness, and flaking, which usually resolve within a week. More serious risks like post-inflammatory hyperpigmentation or prolonged irritation are more likely with high concentrations, improper neutralization, or lack of sun protection. Always patch test and follow at-home glycolic peel safety guidelines. People with darker Fitzpatrick skin types should be extra cautious and start with lower concentrations.
How many glycolic peel sessions are needed for acne scars?
The number of sessions depends on scar depth and peel strength. For mild textured scarring or hyperpigmentation, 4-6 peels spaced 2-4 weeks apart often show noticeable improvement. Deeper atrophic scars may require 6-10 sessions or a combination with other treatments like microneedling. Maintenance peels every 4-8 weeks help sustain results. Consult a skincare professional to tailor a plan for your skin.
Acne scarring is stubborn, and no single treatment erases it overnight. If you’re ready to build a consistent at-home peel routine with professional-grade formulas, Makeup Artist’s Choice offers glycolic, lactic, salicylic, and TCA peels plus personalized skincare guidance to match your skin’s needs. Get started with Makeup Artist’s Choice and see how a properly spaced peel protocol changes your skin over the next six months.