
Table of Contents
- Is a TCA Peel at Home Safe? What to Know First
- Choosing the Right TCA Concentration
- How to Prepare Your Skin Before the Peel
- Step-by-Step: Applying a TCA Peel at Home
- TCA Peel Recovery Timeline: What to Expect
- TCA Peel Aftercare Instructions for Best Results
- Common Mistakes and How to Avoid Them
- Final Verdict: Is At-Home TCA Worth It?
- Frequently Asked Questions
Last Updated: September 8, 2026
Is a TCA Peel at Home Safe? What to Know First
A TCA peel at home is safe only when you respect the acid’s strength, prepare your skin properly, and follow strict aftercare. Trichloroacetic acid is a keratolytic agent that removes damaged outer layers of the epidermis to reveal fresher skin beneath. Unlike gentler acids, TCA penetrates deeper into the dermis, delivering dramatic results for fine lines, photodamage, and acne scarring, but also carrying real risk.
The Makeup Artist’s Choice team has formulated professional-grade TCA peels since 1997, and our consistent guidance is this: the safety of a TCA peel depends less on the product and more on the protocol around it. Most adverse reactions trace back to concentrations that were too high, skin that wasn’t conditioned, or aftercare that was skipped. FDA guidance on cosmetic safety emphasizes that consumers must follow product instructions exactly, as improper use of acid-based cosmetics can cause chemical burns.
Before you buy anything, understand that frosting is the visual signal your peel is working. This white, frost-like appearance indicates protein coagulation and tells you the acid has penetrated. A light, even frost is normal; a heavy, dense frost means you’ve gone too deep and need to neutralize immediately.
Never attempt a TCA peel if you are pregnant, have active cold sores, or have used Accutane in the past six months. These conditions dramatically increase the risk of complications like hyperpigmentation and scarring.
Who Should Skip TCA Peels
Skip TCA peels entirely if you have active eczema, psoriasis, or rosacea in the treatment area, as the acid will worsen inflammation. People with a history of keloid scarring, recent facial surgery, or radiation therapy should also avoid TCA. Those with darker skin tones face a higher risk of post-inflammatory hyperpigmentation, so a lighter acid like glycolic or lactic is often a safer first choice.
Choosing the Right TCA Concentration
The concentration percentage determines both results and risk. TCA is typically sold in three strengths:
- 10% to 15%: Light peel for skin resurfacing, fine lines, and mild sun damage
- 20% to 25%: Medium peel for deeper wrinkles, acne scarring, and melasma
- 30% and above: Deep peel, strictly for professional use only
For a first-time at-home tca peel, never start above 15% (the FDA). The difference between 15% and 25% is substantial in penetration depth, and skin that has never been exposed to TCA needs to build tolerance gradually. Even experienced users should not exceed 20% at home without professional supervision.
A common mistake is assuming a higher percentage means faster results. In practice, a series of lighter peels spaced weeks apart produces better outcomes with less downtime than one aggressive peel that damages the skin barrier.
How to Prepare Your Skin Before the Peel
Preparation begins two weeks before your peel, not two days. Your skin needs time to build resilience and shed excess buildup so the acid penetrates evenly. Stop all retinoids, benzoyl peroxide, and aggressive physical exfoliants at least five to seven days prior.
In the week before your peel, use a gentle cleanser and a moisturizer with ceramides daily. Well-hydrated skin absorbs TCA more evenly, which reduces the risk of patchy frosting and blotchy results.
On the day of the peel, wash your face with a mild cleanser and dry completely. Do not apply makeup, moisturizer, or any active serums. The acid must contact clean, dry skin to work predictably. Some practitioners recommend a quick swipe of acetone or alcohol beforehand for oily skin, but this increases irritation, so skip it for your first peel.
Step-by-Step: Applying a TCA Peel at Home
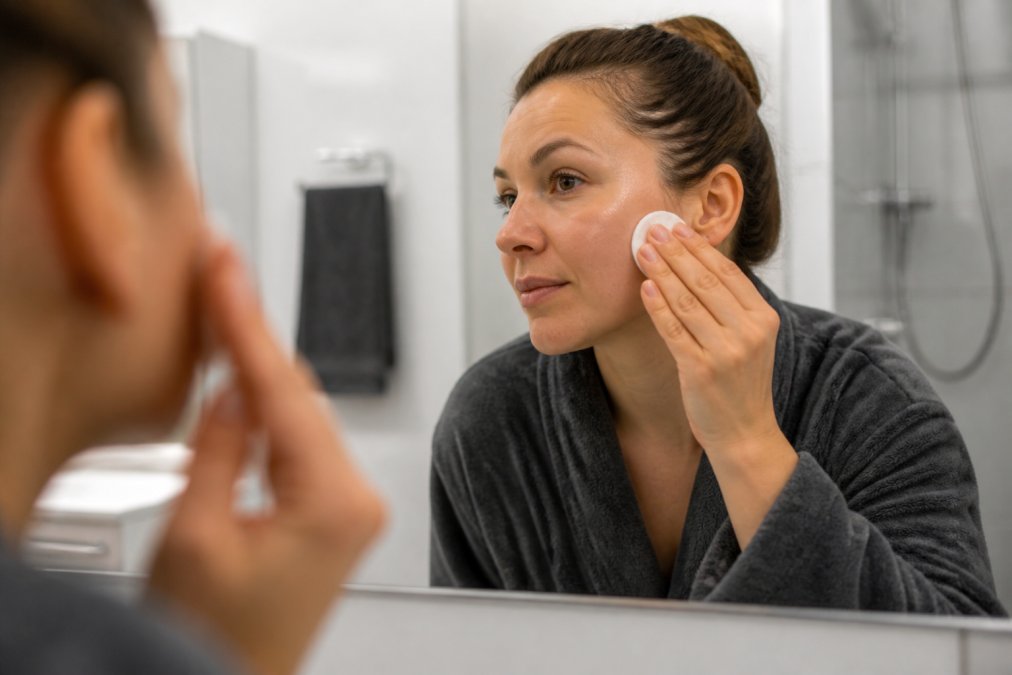
This is where precision matters. Follow each step in order and never rush the process.
- Patch test first: Apply a small amount behind your ear or on your jawline 48 hours before the full peel. Watch for excessive redness, blistering, or unusual pain.
- Set up your station: Have your neutralizer, a fan, cotton pads, and a timer within reach before you begin.
- Apply in thin, even layers: Dip a cotton pad into the TCA solution and squeeze out excess. Wipe the solution across your face in one direction, avoiding the eye area, nostrils, and lips. Do not go back over areas you’ve already covered.
- Watch for frosting: Within one to three minutes, you’ll see a light frost develop. This signals the peel is working.
- Time the peel: Leave the solution on for two to four minutes for a light peel, or up to six minutes if you’re experienced and using a low concentration.
- Neutralize or let it self-neutralize: Depending on the formula, you’ll either rinse with water or apply a neutralizing solution (details below).
How to Neutralize a TCA Peel
How to neutralize a TCA peel depends on the specific product you’re using, so read the label before you start. Some TCA formulations are self-neutralizing, meaning the acid deactivates on its own as the frosting completes. Others require active neutralization with a baking soda solution or water rinse.
For formulas that require neutralization, prepare a solution of one tablespoon baking soda dissolved in one quart of cool water. When your desired time is up, splash this over your face repeatedly for one full minute, then rinse thoroughly with cool water. The burning sensation should subside immediately. If it doesn’t, continue rinsing and apply a cool compress.
Never use soap, alcohol, or toner to neutralize a TCA peel. These alter the pH balance of your skin and can cause further irritation. Stick to the neutralizer provided with your peel or plain water.
TCA Peel Recovery Timeline: What to Expect
The recovery timeline follows a predictable pattern of desquamation, where old skin flakes away to reveal new layers. But the experience is not uniform, each day has a distinct set of symptoms, visual cues, and care requirements. Here is a detailed day-by-day tracker so you know exactly what is normal and what signals a problem. reading ingredient labels.
Day-by-Day Symptom Tracker
| Day | Visual Cue | Sensation | What Is Happening Under the Skin | What To Do | Red Flag to Watch For |
|---|---|---|---|---|---|
| Day 0 (Peel Day) | Mild redness, possible light frost fading within 1-2 hours | Warmth, mild stinging | TCA has coagulated proteins in the epidermis; inflammation cascade begins | Do not wash face for 8 hours. Apply a thin layer of a barrier ointment (like Vaseline) only if skin feels tight. | Severe pain, blistering, or white patches that persist beyond 2 hours, these indicate a deep burn; contact a dermatologist. |
| Day 1 | Redness intensifies; skin looks sunburned; possible slight swelling around eyes | Tightness, sensitivity to touch | Acute inflammation peaks; new epidermal cells begin forming | Rinse gently with lukewarm water, no cleanser. Apply a thick ceramide moisturizer 3-4 times daily. Avoid any facial expressions that crease the skin. | Swelling that closes your eyes or spreads to the neck, this is an allergic reaction or over-penetration. |
| Day 2 | Redness deepens; skin feels leathery; fine cracks appear around mouth and cheeks | Itching, pulling sensation | The dead epidermal layer begins to separate from the new skin below | Continue moisturizing. Do not apply any occlusive ointment unless skin is cracking, trapping heat can worsen inflammation. | Blistering or weeping, this is a sign of a second-degree chemical burn, not normal peeling. |
| Day 3 | Peeling begins, small flakes around mouth and chin; skin looks grayish or brownish in patches | Itching intensifies | Desquamation (shedding) is active; new stratum corneum is forming underneath | Start using a gentle, fragrance-free cleanser. Apply moisturizer immediately after washing while skin is damp. Do not pick or rub. | Peeling that is patchy and leaves raw, red spots, this may indicate uneven acid application. |
| Day 4 | Heavy peeling, large sheets of skin lift away, especially on cheeks and forehead | Tightness decreases; some areas feel raw | The old epidermis is fully detached; new skin is exposed in patches | Continue gentle washing. You may apply a very thin layer of hydrocortisone 1% cream to any intensely red areas for up to 2 days only. | Any yellow crusting or pus, this indicates infection; seek medical care. |
| Day 5 | Peeling continues but slows; new skin appears pink and smooth in some areas | Mild itching, occasional stinging when applying products | New skin barrier is forming but is not yet functional | Switch to a mineral-based moisturizer. Do not introduce any active ingredients. | Persistent oozing or honey-colored crusts, signs of bacterial infection. |
| Day 6-7 | Most peeling complete; residual flaking around nose and hairline; skin is pink | Minimal discomfort | New stratum corneum is 60-70% functional | You may begin gentle exfoliation with a soft washcloth, but only if no raw areas remain. | Pinkness that deepens to red or becomes blotchy, this may signal post-inflammatory erythema that requires professional treatment. |
| Day 8-10 | Pinkness fades; skin texture looks smoother; some dryness persists | Normal | New skin is fully formed but still thin and vulnerable | Introduce a gentle Vitamin C serum (if tolerated) in the morning. Continue sunscreen. | Darkening of any area, this is early hyperpigmentation; stop all actives and use a brightening serum with niacinamide. |
| Day 11-14 | Skin tone evens out; residual pinkness may last up to 4 weeks in deeper peels | Normal | Collagen remodeling is underway | You may resume retinoids at half your normal frequency for the first week. | Any new breakouts, this is not purging; it is a sign your barrier is compromised. |
The Science of the Frost and What It Tells You
The frosting you see during the peel is a real-time indicator of penetration depth. A light, lacy frost that appears within 1-2 minutes indicates superficial epidermal coagulation. A solid, white frost that develops quickly (under 30 seconds) means the acid has reached the papillary dermis, this is too deep for home use. If you see a dense, porcelain-white frost, neutralize immediately, even if your timer has not gone off. This visual cue is your most reliable safety mechanism.
When to Seek Medical Attention
While most at-home TCA peels heal without incident, you must know the difference between normal recovery and a complication. Contact a dermatologist or visit urgent care if you experience any of the following:
- Blistering that forms fluid-filled bubbles within 24 hours of the peel
- Weeping or oozing from any area after day 2
- Fever or chills, this indicates systemic infection
- Pain that worsens after day 1 instead of improving
- Swelling that spreads beyond the treated area
Your skin will feel sun-sensitive for several weeks after a TCA peel because the fresh epidermis is thinner and more vulnerable to UV damage. Plan your peel when you can stay out of direct sun for at least one week afterward. Many people schedule peels in fall or winter when sun exposure is naturally lower. The single most important aftercare rule is sun protection, apply a broad-spectrum sunscreen of SPF 30 or higher every morning for at least a month after your peel, even on cloudy days. New skin has no built-in protection and will hyperpigment quickly without it.
TCA Peel Aftercare Instructions for Best Results
TCA peel aftercare instructions are non-negotiable for smooth, even results without complications. For the first 24 hours, do not get your face wet beyond a gentle splash. Avoid steam, saunas, and heavy exercise that causes sweating.
From day two onward, wash with lukewarm water and a fragrance-free cleanser. Apply a thick, barrier-repairing moisturizer several times daily. Keeping skin hydrated reduces tightness and makes the flaking less noticeable.
The single most important aftercare rule is sun protection. Apply a broad-spectrum sunscreen of SPF 30 or higher every morning for at least a month after your peel, even on cloudy days. New skin has no built-in protection and will hyperpigment quickly without it.
Common Mistakes and How to Avoid Them
Most problems with at-home TCA peels trace back to a handful of avoidable errors. The most common is starting with too high a concentration. Another frequent mistake is layering the acid too thickly or going back over the same area multiple times, which creates uneven penetration and patchy frosting.
Picking at peeling skin is perhaps the most damaging habit. Pulling off loose skin prematurely risks tearing the new epidermis underneath, which can leave permanent marks. Let every flake fall away on its own schedule.
Skipping the patch test is another error with serious consequences. A patch test reveals how your skin reacts to the acid before you commit your entire face. American Academy of Dermatology on chemical peels notes that even professional peels carry risks, and patch testing is a standard precaution that minimizes adverse reactions.
Final Verdict: Is At-Home TCA Worth It?
A TCA peel at home is worth it for people who are patient, disciplined, and willing to follow a careful protocol. The results for fine lines, sun damage, and acne scarring can rival professional treatments, and doing it yourself saves the cost of repeated clinic visits. But this treatment demands respect, it is not a quick fix, and it is not for anyone unwilling to commit to two weeks of recovery and a month of diligent sun protection.
For a first attempt, choose a low concentration, prepare your skin for two weeks, and follow the aftercare instructions exactly. Makeup Artist’s Choice offers professional-grade TCA peels made in the USA, along with supporting skincare products, so you can build a complete routine around your treatment. Makeup Artist’s Choice TCA peel collection provides detailed product guidance and formulations designed for at-home use.
The difference between a glowing result and a cautionary tale is rarely the acid itself. It’s the discipline of the person applying it. Start low, go slow, and let your skin set the pace.
Frequently Asked Questions
What is the best TCA peel concentration for home use?
For a first-time at-home TCA peel, a concentration of 12.5% or lower is the safest starting point. Higher strengths, like 20% or 30%, increase the risk of frosting, scarring, and hyperpigmentation, especially if you have darker skin. Start low, assess your skin’s tolerance, and wait 4-6 weeks before considering a stronger peel. Professional treatments often use higher percentages, but they also involve medical monitoring.
How long should I leave TCA on my face before neutralizing?
The duration depends on the concentration and your skin’s reaction. With a 12.5% TCA peel, you typically wait 2-4 minutes, watching for a light, even frosting. This frost signals protein coagulation. If you see patchy frosting or intense stinging, neutralize immediately with a baking soda solution. Never leave TCA on longer than the product instructions specify, as deeper penetration increases risks.
What does the TCA peel recovery timeline look like?
Immediately after the peel, you’ll see frosting and feel stinging, which subsides after neutralization. Day 1-2 brings redness and tightness. By day 3-4, you’ll notice your skin darkening and starting to peel, which continues for 3-5 days. Desquamation typically completes by day 7-10, revealing fresh, new skin. Avoid picking at peeling skin to prevent scarring, and use sunscreen diligently during this period.
Can I do a TCA peel at home if I have hyperpigmentation?
TCA peels can effectively treat photodamage and surface hyperpigmentation, but they carry a significant risk of post-inflammatory hyperpigmentation (PIH), especially for darker skin types. If you have a history of PIH, melasma, or are prone to it, a TCA peel at home is risky. Consider a milder option like lactic or mandelic acid, or consult a dermatologist for a supervised treatment plan.